Have you ever had trouble making your activities public on Garmin Connect? You’re not alone. Many users have faced the same issue, wondering how to share their workouts with friends and family. It can be frustrating to figure out how to make your activities public, especially if you’re new to the platform. But don’t worry, there’s a solution!
As someone who works for a website that reviews thousands of wearable products, I’ve seen my fair share of Garmin Connect issues. Making activities public is a common problem that users face, and it’s one that I’ve encountered myself. I understand the importance of sharing your progress with others and how frustrating it can be when you can’t figure out how to do it.
In this article, you’ll find a solution to your problem. I’ve done the research and gathered all the information you need to make your activities public on Garmin Connect. Whether you’re a seasoned user or new to the platform, this article will guide you through the process step-by-step. So, let’s get started and make your activities public!
How To Make Activities Public On Garmin Connect?
Introduction
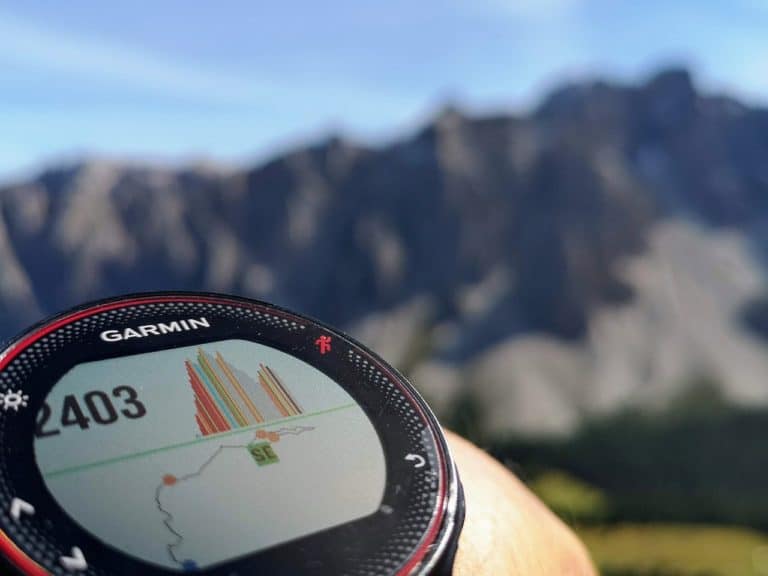
Garmin Connect is a popular platform for fitness enthusiasts to track their activities, set goals, and share their progress with others. However, some users may not be aware of how to make their activities public on the platform. In this article, we will discuss the steps to make activities public on Garmin Connect.
Step 1: Log In To Your Garmin Connect Account
The first step to making your activities public on Garmin Connect is to log in to your account. You can do this by visiting the Garmin Connect website and entering your login credentials.
Step 2: Navigate To Your Profile
Once you have logged in to your account, navigate to your profile by clicking on your name in the top right corner of the screen. This will take you to your profile page.
Step 3: Click On “Privacy Settings”
On your profile page, click on the “Privacy Settings” button. This will take you to the privacy settings page where you can control who can view your activities.
Step 4: Select “Public” For Activity Sharing
In the privacy settings page, you will see an option for “Activity Sharing”. To make your activities public, select the “Public” option. This will allow anyone to view your activities on Garmin Connect.
Step 5: Save Your Changes
After selecting the “Public” option for activity sharing, be sure to save your changes by clicking on the “Save” button at the bottom of the page.
Step 6: Share Your Activities
Once you have made your activities public on Garmin Connect, you can share them with others by clicking on the “Share” button on each activity. This will allow you to share your activities on social media or via email.
Step 7: Enjoy The Benefits Of Sharing Your Activities
By making your activities public on Garmin Connect, you can enjoy the benefits of sharing your progress with others. This can help you stay motivated and accountable, and can also inspire others to pursue their fitness goals.
Conclusion
Making your activities public on Garmin Connect is a simple process that can have a big impact on your fitness journey. By following the steps outlined in this article, you can share your progress with others and enjoy the benefits of accountability and motivation. So why not give it a try today?