
Are you struggling with how to delete your Fitbit Charge 2 and add a new Versa to your fitness routine? You’re not alone. Many people find the process of switching from one fitness tracker to another to be confusing and frustrating. But fear not, because I’m here to help guide you through the process and make it as easy as possible.
As someone who works for a website that reviews thousands of wearable products, I’ve had plenty of experience with different fitness trackers and the process of adding and deleting them from my routine. I’ve encountered my fair share of challenges along the way, and I understand how daunting it can be to navigate the world of fitness technology. But through trial and error, I’ve learned some valuable tips and tricks that I’m excited to share with you.
In this article, I’ll walk you through the steps to delete your Fitbit Charge 2 and add a new Versa to your fitness arsenal. I’ll share my personal insights and experiences, and provide you with a clear and concise solution to your problem. By the time you finish reading this article, you’ll have the knowledge and confidence to seamlessly transition from one fitness tracker to another.
How To Delete Fitbit Charge 2 And Add Versa?
Understanding the Need for Change
The Fitbit Charge 2 has been a reliable fitness tracker for many users, but as technology evolves, so do our needs and preferences. The introduction of the Fitbit Versa offers new features and capabilities that may be more suitable for your lifestyle and fitness goals. It’s important to understand why you want to make the switch and how it can benefit you in the long run.
Backing Up Your Data
Before making any changes to your Fitbit devices, it’s crucial to back up your data to ensure that you don’t lose any important information. This includes your activity history, sleep data, and any personalized settings or goals that you have set on your Fitbit Charge 2. This step is essential in case anything goes wrong during the transition process.
Resetting Your Fitbit Charge 2
To delete your Fitbit Charge 2 from your account, you will need to perform a factory reset on the device. This will erase all data and settings, effectively unlinking it from your account. To do this, go to the settings menu on your Charge 2, scroll down to “About”, and select “Factory Reset”. Follow the on-screen instructions to complete the process.
Adding Your Fitbit Versa
Once your Fitbit Charge 2 has been successfully deleted from your account, you can proceed to add your Fitbit Versa. To do this, open the Fitbit app on your smartphone, tap on the profile icon, select “Set Up a Device”, and follow the on-screen instructions to pair your Versa with your account. Make sure to sync your Versa to transfer your data from the backup.
Syncing Your Data
After adding your Fitbit Versa, it’s important to sync your data from the backup to ensure that you have all your information transferred to the new device. This will include your activity history, sleep data, and any personalized settings or goals that you had on your Fitbit Charge 2. Once the syncing process is complete, you can start using your Versa seamlessly.
Exploring New Features
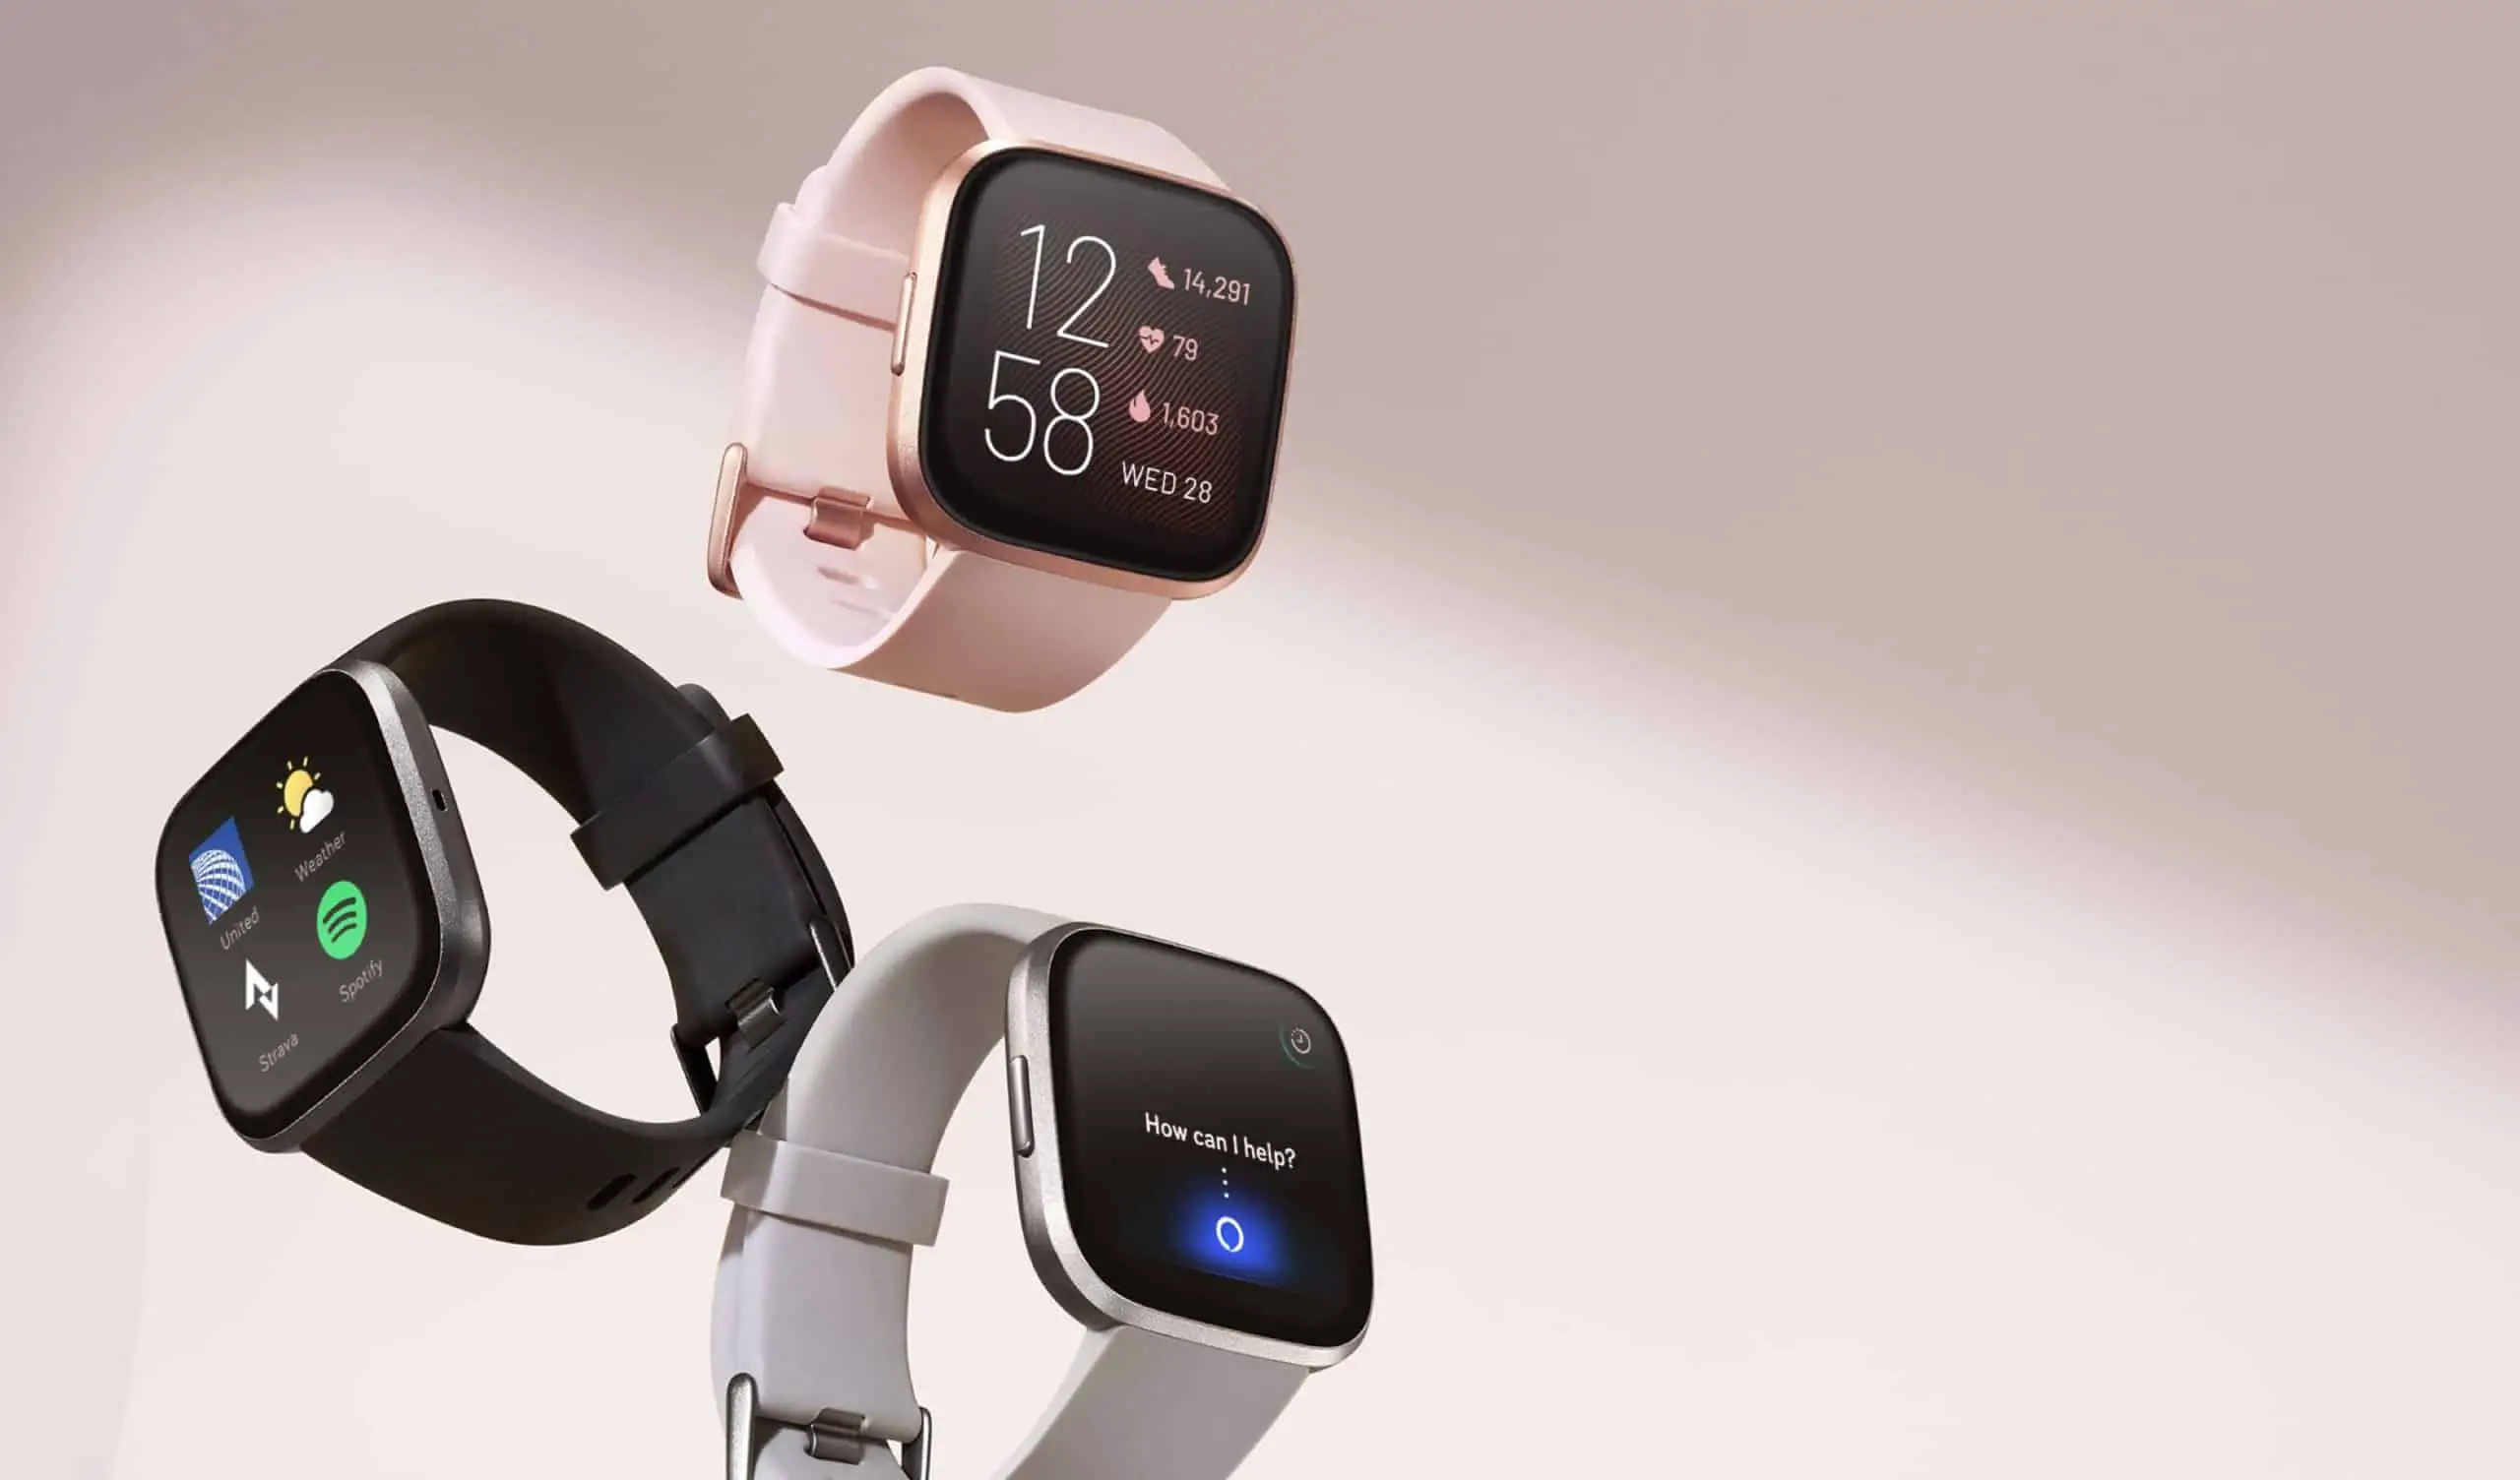
Now that you have successfully deleted your Fitbit Charge 2 and added your Fitbit Versa, take some time to explore the new features and capabilities that the Versa has to offer. From advanced fitness tracking to music playback and notifications, the Versa brings a whole new level of functionality to your wrist. Get familiar with its interface and make the most out of your new device.
Embracing Change for Better Results
Change can be daunting, but it often leads to better results and experiences. By deleting your Fitbit Charge 2 and adding the Versa, you are embracing the evolution of technology and taking a step towards a more tailored and advanced fitness tracking experience. Embrace the change and make the most out of your new Fitbit Versa.
FAQs
1. How do I delete my Fitbit Charge 2 from my account?
To delete your Fitbit Charge 2 from your account, follow these steps:
1. Open the Fitbit app on your mobile device.
2. Tap on the account icon in the top left corner.
3. Select the Charge 2 device from the list of connected devices.
4. Scroll down and tap “Remove this Charge 2”.
5. Confirm the action by tapping “Remove” again.
2. How do I add a Fitbit Versa to my account?
To add a Fitbit Versa to your account, follow these steps:
1. Open the Fitbit app on your mobile device.
2. Tap on the account icon in the top left corner.
3. Select “Set Up a Device” and choose “Versa” from the list of available devices.
4. Follow the on-screen instructions to pair your Versa with your account.
3. Can I transfer my data from Fitbit Charge 2 to Fitbit Versa?
Yes, you can transfer your data from Fitbit Charge 2 to Fitbit Versa by following these steps:
1. Sync your Fitbit Charge 2 to your account to ensure all data is up to date.
2. Pair your Fitbit Versa with the same account and the data will automatically transfer.
4. Will I lose my data if I delete my Fitbit Charge 2?
No, you will not lose your data if you delete your Fitbit Charge 2 from your account. All your data is stored in your Fitbit account and will still be accessible after deleting the device.
5. How do I ensure a smooth transition from Fitbit Charge 2 to Fitbit Versa?
To ensure a smooth transition from Fitbit Charge 2 to Fitbit Versa, make sure to sync your Charge 2 to your account, remove it from your account, and then follow the steps to add your Versa to the same account. This will ensure that all your data and settings are transferred seamlessly.